I’m starting a new project.
A project cultivated by the love I have for photos.
A project that I hope inspires you.
A project that you will be able to share and enjoy for many years to come.
Project print: a peek into the ideas and expertise of a professional photographer on a mission to beautify homes and preserve memories for a lifetime.
In this edition of project print, I wanted to share with you this stupid easy way of hanging a wall collage – because let’s face it, I’m no good at numbers and measuring, so this visual method is absolutely perfect if you are the same!

Prep your photos
First things first, you’ll have to gather and collect the photos you want to hang.
In need of some updated photos or gallery walls? Get in touch with me today and let’s create something amazing for you!
Once you have all of your photos in place, now let the fun begin!
Trace your photos
Grab some paper – newspaper, craft paper, stock paper, or anything that you have lying around the house will do (I used old scrapbook paper for this display since my canvases were 12×12 and smaller).
Use a pencil to trace over the photos/frames and cut it out.
It’s also helpful to pinpoint the hangers on your photos so you can hang them perfectly in-line with your other photos – simply add a mark to the center of the hanger so you won’t need to again.
Once you have all of your photos traced and cut, you are ready for the next step!
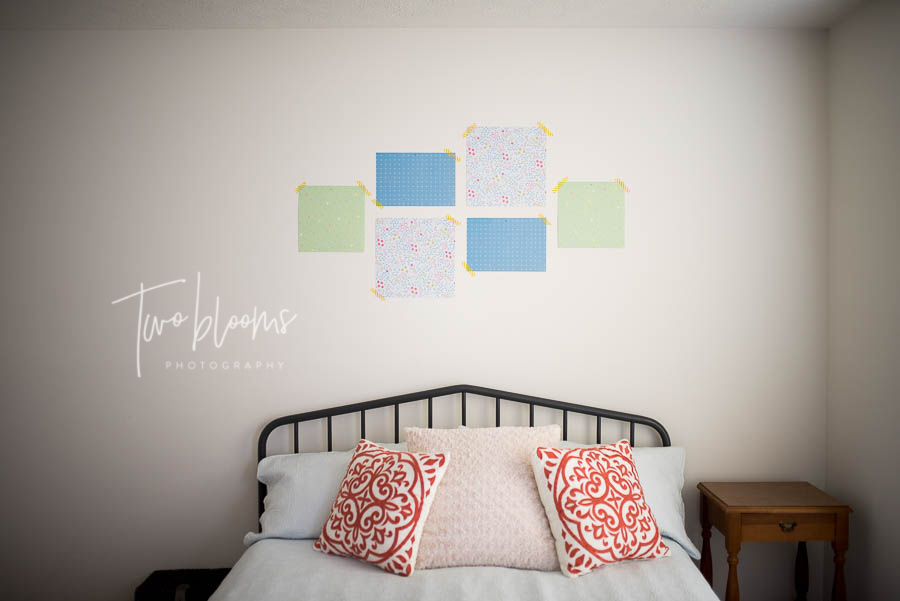
Arrange your design
You can do this before you start hanging up your cutouts or just start slapping them on the wall – the choice is yours, but I recommend having a plan before starting this process.
And if you decide to invest in updated portraits by me, ask about my amazing wall design software at our consultation – it will cut this process is half (or more!)
Start hanging
Now comes the fun part!
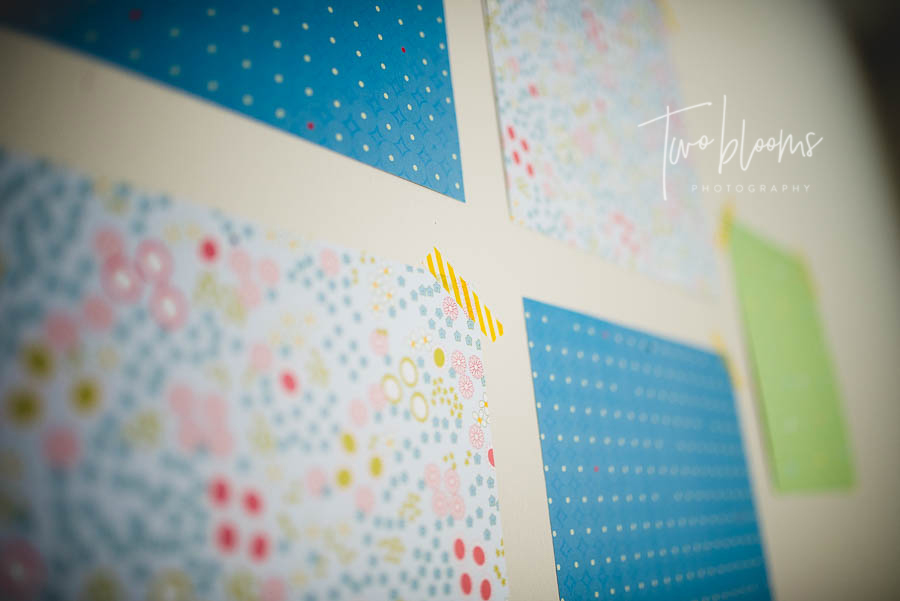
Once you have your desired design in place, now you can start hanging your traced paper on the walls where your photos will be placed.
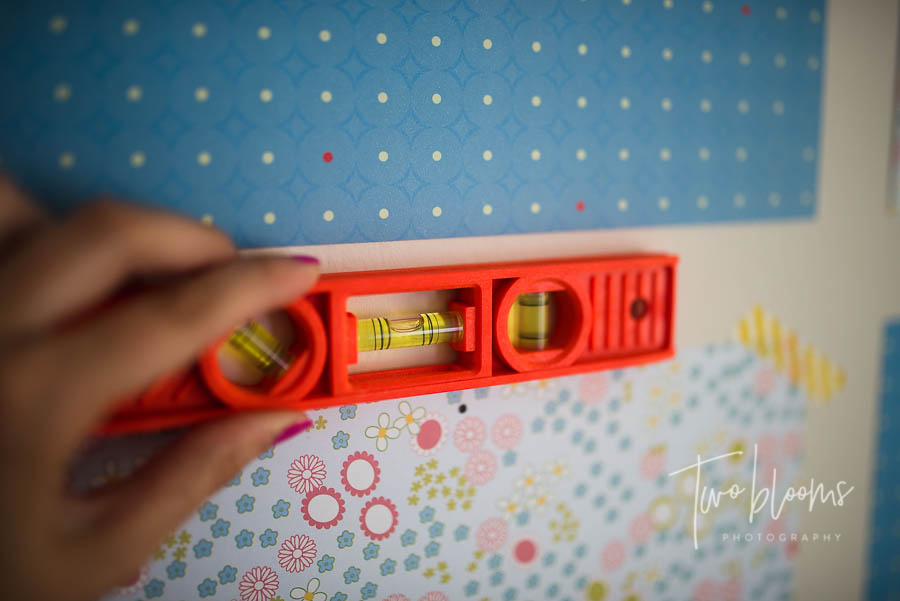
Using washi tape (or painters tape) will make this process easier and less messy & make sure you have a ruler and level ready for perfect placement!
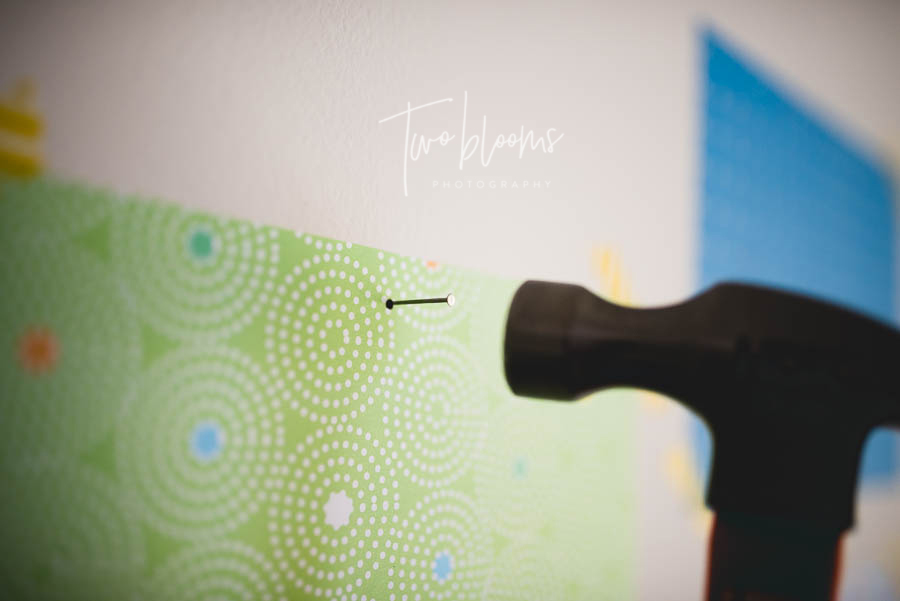
Once you have them placed perfectly on the wall, you can start hammering down your nails (this is where those hanger marks come into play).
Complete your wall
Once the nails have been hammered down in the correct spaces, you can simply take down the paper with the nails still intact (just make sure you remember which photos go where!).
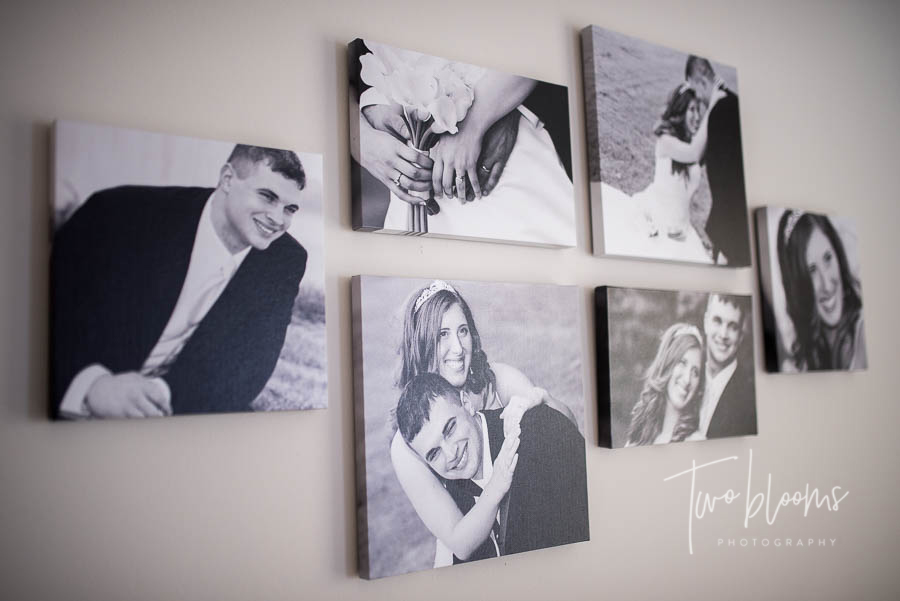
With the nails in place, you are ready to hang your precious pictures!
Now all of your work is done and you can enjoy your beautiful wall display…. the stupid easy way.

Are you ready to cash in on some fun, beautiful photos, and a one-of-a-kind experience? Call me today to book your custom photography session and let’s document this special time in your life and create a one-of-a-kind wall display for your home!!!


